Monday, February 28, 2011

Longevity


This shows how I turn the legs, and hopefully the bark shows two things.  First, the pieces are split from the log.  If you've watched the slide show, you'll see more on that.  Second, you can infer that the pieces are green and wet.  I used to turn them right after splitting, but now I rough them out, turning them into 2-3 inch rounds.  Then I let them sit around for a few days, then I turn them; they tend to warp less this way. 


One of the things that make my Windsor chairs last so long without coming loose is the way I use wet-dry joinery.  As you can see, I turn the stretcher green and then I wrap the bulb   ( where the stretcher will later enter)  with tin foil.  This allows me to then super dry the tenons in my little roll around kiln.  Wood shrinks when it dries, and swells when it picks up moisture.  So by keeping the part where the tenon will go green, or at least a much higher moisture content than the tenon, the piece will shrink around the tenon, and the tenon will swell slightly, locking the two pieces together for years and years.  The main problem with a round tenon and a round drilled hole is that they both swell and shrink the same amount.  This is why factory chairs fall apart, all the wood is the same moisture content.  But by using wet-dry joinery, all the problems are avoided. 


 This shows how I dry the ends of the legs that go into the seats.   The roll-around cart is covered with blue board and there is a small heater in the cart.  This keeps the temperature around 110 degrees,   which translates to an EMC of 4%.  I only put the ends in thru the top, because remember that the rest of the legs have to stay wet.   Not only is the end tapered to match the tapered hole ( 6 degrees) and the split and wedged, but the end is also superdried to about 4% M.C..  By having the seat about 12% M.C., the seat then shrinks onto the super dried tenons, locking them together.  Add the fact that they are tapered and wedged, and throw in a little hide glue, and that leg will last forever.


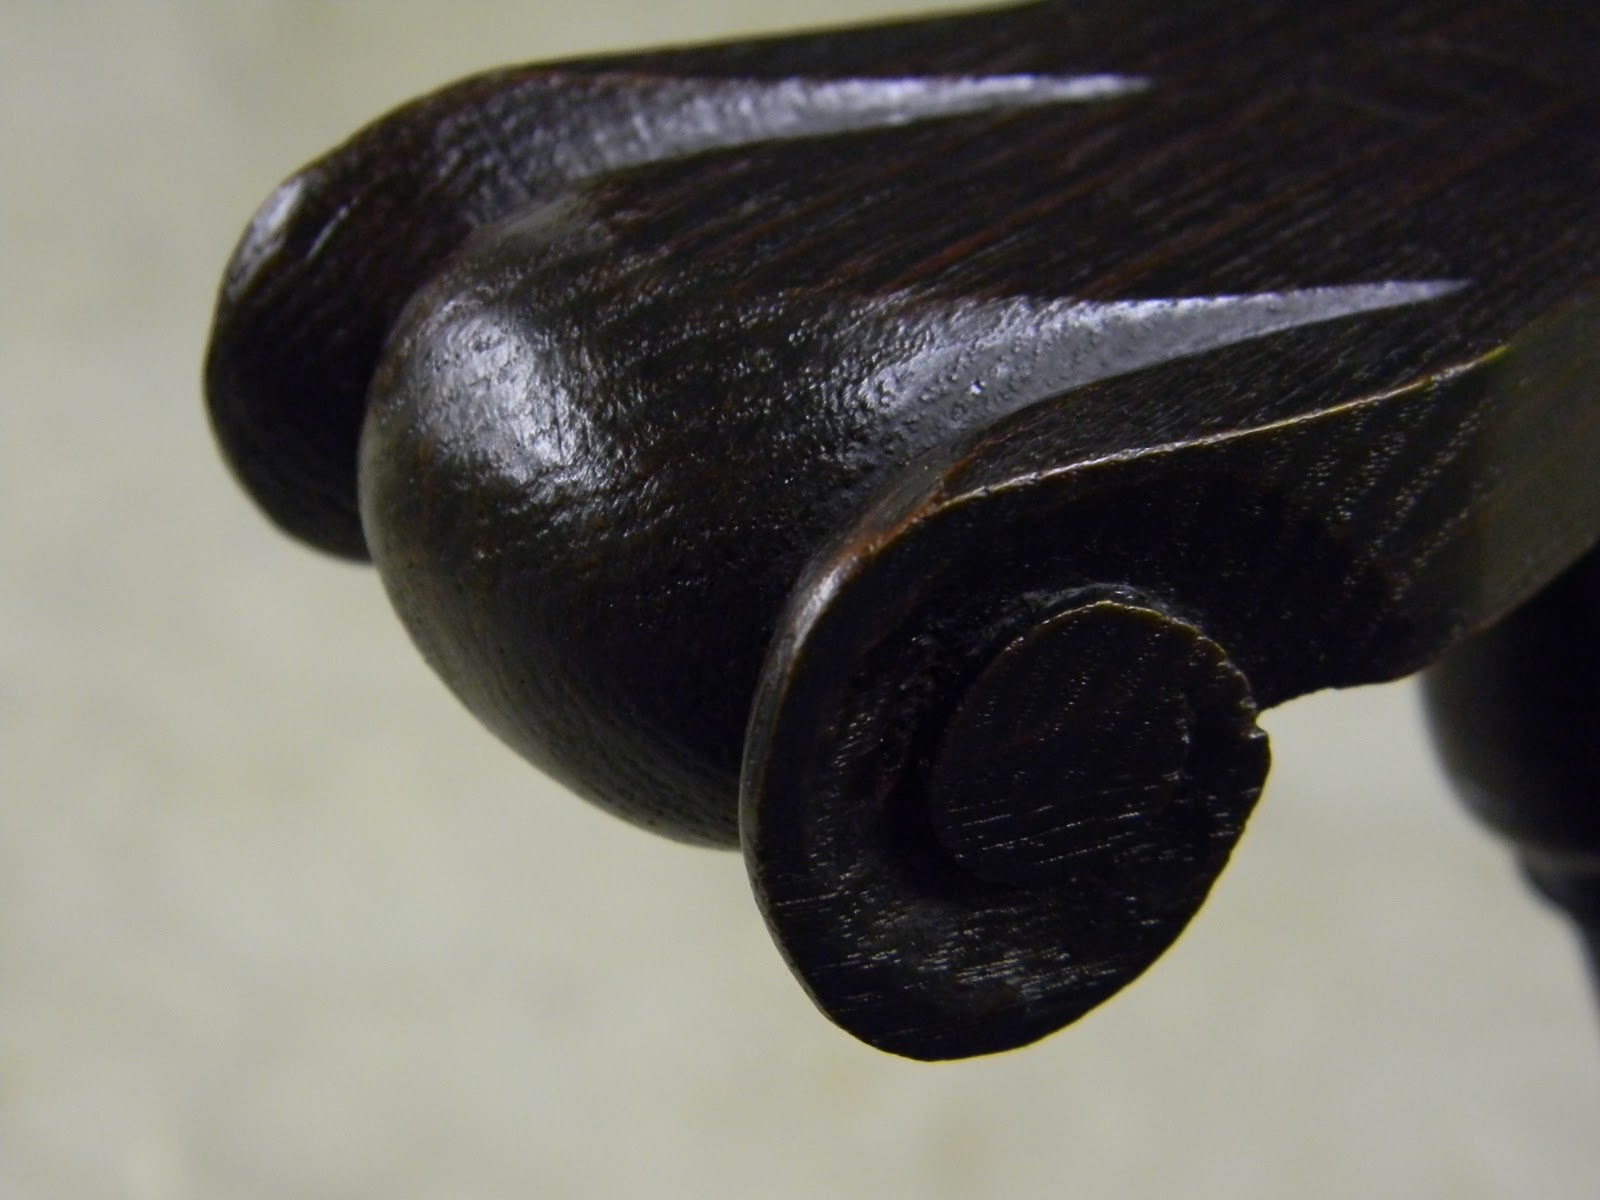
Speaking of stuff lasting, here's a pic of a holdfast that I bought from Phil Koontz in Alaska.  These are true blacksmith made tools, and they will last longer than I will.  The point I'm making here is that, like my chairs, this is built to last.   I buy them once and that's it.  They don't break; they don't need to be replaced every three years.  My chairs are the same.  They are made from local woods that are completely sustainable, and they are built such that they will last generations.  So which has less environmental impact?  A chair built in China with woods from a rain forest that has to be shipped halfway around the world that has to be replaced every three years, or a chair like mine, that is built from sustainable woods, locally made, and bought once.  And which represents a better value?

Wednesday, February 23, 2011

Mission Statement


Boat theme this post.  This is the form for the the small flat bottomed skiff I started last summer.  Didn't get it finished, but I did get the sides planked, the bottom planked and caulked (I went with pine boards with a spline and cotton caulk) and the inner and outer stem and faired.  Oh, and the transom.  And the keel and skeg.  It really amazed me how long the various steps took.  I'd like to think I'm pretty good with hand tools, and when the plans said beginners should do x step in so much time, it left me wondering who these beginners were.


 Anyway, here's a side shot, showing the battens that allow the planks to be spiled and faired.  In other words, it gives a way to place the planks so they look nice and even, and don't end up lumpy.   I'll tell ya, fairing the stem was tricky tricky.  One thing that is hard is knowing what is good and what isn't.  What I mean by that is like with the chairs, I now know what will work and what won't, so I know immediately what to do.  But when I started out, I would spend bunches of time just trying to figure out if something would work.  Same with the boat.  I couldn't just move from step to step, I had to figure out how to make stuff perfect, which is good, but I think a lot of stuff was close enough.


 Here's the transom and where the bottom plank meets the deadwood.  I didn't know any of these terms either, really learned a lot on this one.  Like the importance of proper countersinking and the magical abilities of epoxy and 3M caulking.  


 Tangent--Here's the brand I use to sign my chairs once they are done and pass muster.  It may sound corny, but this is the last thing I do on a chair or a piece of furniture.  I look it over and then put my name on it, so future generations will know who built this piece.  Which brings me to a mission statement---


I saw this mission statement doing a homework assignment for a business class and now this copy hangs in my shop.  It sums up exactly my philosophy on building my furniture.  I'd say more, but I don't have to. 

See how I brought the ship theme around...

Thursday, February 17, 2011

Oneway Balance System

 Here's the business end of turning, sharpening.  I use the bench grinders for this.  A www.Deltatools.com variable speed that I got at www.lowes.com that works pretty well, and actually came with one good wheel, usually they come with a grey wheel that is too hard.  The tool tends to heat up as the wheel becomes clogged.  The white ( or blue)  grinding wheels have a softer bond that allows the wheel particles to fracture which exposes fresh cutting particles.  I have two grinders, one used for grinding my big gouges and sharpening drill bits, and the other for sharpening the cut-off tool and the smaller gouges.  The is also, in the background, the strip sander from www.leevalley.com that I mentioned in the sharpening a scorp post.  And under the towel is a wwww.worksharptools.com 3000 sandpaper sharpener.  It works pretty well, and is my go to tool for sharpening chisels and such, it is fast.
 This shot shows a balancing system from www.oneway.ca and boy does it work.  The whole idea is that grinding wheel have to be balanced, and this little rig does just that.  I think it makes a huge difference.  Like when I sharpen my 3/8 detail gouge.  Before, it would bounce on the wheel.  Now, with the wheel balanced, it just lays right on the wheel, no vibration at all.  I had a wheel from www.nortenindustrial.com that shook so bad I thought the spindle was bent.  I balanced the wheel, and viola! no vibration, at all.  This system is spendy, and a pain to set up, though not hard, but it does work.  I try not to push tools, but this one does work. 
 One note, make sure that when you order the wheels for this system, you need a 1" bore hole in the wheel.  Ask me how I know that.
 Here is really the most important tool in sharpening.  Tom Lie-Nielsen at www.lie-nielsen.com said the same thing in a podcast, and I think he's right.  You have to be able to see what you're doing, and by marking the blade, whether a chisel or lathe gouge, you can see exactly where you are contacting the stone.  It really is important, doubly so if your just starting out.
 This is the jig I made to sharpen my big gouges, here they are piggybacking to show a point.  They base is just a piece of oak with a slot cut in it, then on the end is a small pocket created with wood scraps to hold the end of the tool.  The rear one is elevated, but I can't remember why.  The lower one has a 1/4" bolt that goes in the slot, and allows the smaller roughing gouge to be sharpened without any adjustment. 
This grinder rounds out the sharpening station.  One the left is a www.leevalley.com tool rest that I sharpen my parting tool with, and on the right is a jig that puts a fingernail grind detail gouges.  Mine is from www.robertsorby.co.uk and it works pretty well.  I think I got the Sorby jig from www.woodcraft.com.  All this stuff, grinders and grinding wheels, is pretty standard stuff.  I'll do a more detailed post on the roughing gouge jig in the future.   One last thing, when you turn, even green wood, you have to sharpen a lot!  More than you think.  Get used to it, and do it often.

Saturday, February 12, 2011

Frozen lemons

Winter is here, been here for a few months already, and everyone is feeling a little goofy.  They call it SAD (seasonal affective disorder) but I call it DSOW (damn sick of winter!)  This tree is frozen solid, -25 when this pic was taken,  I would have taken more pics but my camera froze, no joke.  One amazing thing was last weekend in Presque Isle the European sport of biathlon came to our neck of the woods.  The IBU biathlon came to a local cross country park, the Nordic Heritage Center,  for a one of their scheduled events.  It was amazing to see some of the best athletes in the world in our little town.  


But here are the sad results of winter here in Northern Maine.  Little Brenna has taken it the hardest.  So, what to do?  Well, use the shavings from the chair work to have a cookout!  I load the barrels onto the tote sled and take them to the burn pile,  and then we have a cookout to beat back the winter blues.  Doesn't make winter any shorter, but when life gives you lemons, you forget them in the garage, and they freeze  and...., well, then they are frozen, that doesn't make any sense.


Try that again, When the chairs give you shavings, build a fire and make s'mores, even if it is only ten above.  They're just as good, a little hot chocolate, perfect.  Take that old man winter!


See, works like a charm...


Forrest doesn't care, just give him a stick to chase.


Sunday, February 6, 2011

Philly Comb Back, Full Circle

Here's the aforementioned chairs that really got me thinking that I wanted to build Windsors.  It is based squarely on one that Curtis Buchanan builds.  I changed the legs a little, and omitted the brace spindles, but kept the built-up arm ( which looks awesome), the shield seat and the Philly turnings for the legs.  I also made the arm posts extra long, I think it looks better, plus I wanted the arms higher.

The finish is black milk paint layered over barn red with a base of conifer green.   I only have one coat of oil on it so far;  I'll put on two or three more.  This shot shows the knuckles, I can't wait for the black paint to wear thru to the red and then green, should look pretty cool.

Bird's eye view.  Lately I have doing the pommel a little different, moving it from a single point to a ridge running down the middle, it looks nice on the shield seats and bifurcates the seat.  Also the seat front comes to a point, like a bow,  that adds visual interest to the front. 

I think it's a solid rendition, but I also wanted to be ready to do it.  I didn't want to buy the legs, use dowels for the spindles, etc..  I didn't want some half-ass attempt--I wanted to be able to copy it, but more than that I wanted to make it my own.  So I guess you could say that after six years of building. I've come full circle.  I'm really happy with the results,  a very gratifying milestone.

Thursday, February 3, 2011

Hammer and Nails

 I gotta tell you, I love building chairs.  I think they are really the peak of the craft.  You start, with my Windsors anyway, with a log and a pine plank, and end up with a chair.  And anytime I do a new chair, I have to do two, because unlike a cabinet, you never can know how it will look; and more importantly how it will sit.  You never know, so I always build one, and then analyze, look, sit, look some more. 
 Then I figure out what I would change, how long the legs are, how the back feels.  After all this I build a real chair, and that one, hopefully, becomes the one that looks and sits just right.  I joke that all the chairs in my house are prototypes, save for a couple.  That's why I only take orders, I can't really sell a chair that I don't feel is as close to perfect as I can get it.
 I am almost done a chair that really started it all.  A few years ago, maybe 8 or so,  I saw an article on Curtis Buchanan, and in the article there was a picture of comb back arm chair that just struck me.  It had Philly turnings for the legs, shield seat, carved knuckles, everything.  I knew I wanted to build one, but I had never built a chair.  So I took a couple classes and fast forward 8 years, and it's almost done.  I can't wait to put the oil on it.  Should post it in a few days.
I love building chairs, really, but they are challenging.  There are only two right angles, on the whole chair.  Everything else is some angle, and a lot of intuition.  I wonder sometimes if you get technically better, of course you do, but also important is to trust your eye as much as your tape.  Fairness--if it looks good, it is good. 
So why this small cabinet?  First,  I love the color and finish, and second, sometimes it's nice to build something with a hammer and nails!

ps.  note the Cow Jumping Over the Moon on the top of the cabinet in the top post,  Erinn, my daughter,and I built it.