Sunday, May 22, 2011

Time Flies


A little preview of a few pieces I'm gonna have at Wintergreen Arts on June 3rd.  Last time, in December, I showed only chairs.  This time I'm gonna have mostly case pieces, including this blanket chest.  The dovetails really take center stage on this piece.


 The chair below,  a Rodback Arm Chair, is the finished version of the same chair I took to Wintergreen back in December.  At that time, it wasn't finished.  It's also the same chair I made for my father's 70th birthday.


 This Philly Comb Back really will be there,  a lot of interesting details.


Ryan ready for his 8th grade prom, time flies...


Speaking of time flying, here's a display case I made a while back to hold my wife's wedding flowers.  For a couple years after our wedding, the bouquet kicked around and I knew that it wouldn't last long that way  so I designed and built this glass case to hold them for as long as we are together, and longer.  I bring this up because today is our anniversary.  I won't say how long it's been, but suffice it to say time flies.  Thank you Cat and Happy Anniversary.

'Tis a mistake, time flies not, 
   It only hovers on the wing
Once born the moment dies not,
   'Tis an immortal thing.

Montgomery

Wednesday, May 18, 2011

Stop Moving!


 Here's a Sack-Back Settee I built a few years ago for my neighbor.  It's ash and maple with a cherry seat.  It has aged beautifuly, the seat is gorgeous.


 This little detail is how I covered the end-grain of the blanket chest that is almost done.  The chest has a drawer at the bottom, to the dovetails don't run all the way down the front.  This shows a bunch of end grain, which honestly I don't mind, but most people like it covered up.  The problem is that if you simply nailed a trim piece on, seasonal movement would break off the piece or, if you glue it on, the side might crack. 


So, dovetails to the rescue.  I milled a small piece of maple into a dovetail, and made a matching piece of cherry with the same profile on the inside --this is the actual trim piece.  The maple piece is screwed on with a little glue.  The trick is to put the inner piece into the trim piece, and have a couple inches sticking out.  Then put in a couple screws with glue, but do it by pairing the screws together.  What you will end up doing is pulling off the cherry trim piece, and screwing as you go.  So you have a long piece screwed to the front, which is what you don't want.  But by cutting 1/2" chunks out from between paired screws and thus the dovetails will hold the trim piece on, and still allow the sides to move.


Then slide the trim piece back on, carefully putting glue on the last couple inches to hold the top on.  Also, trim the bottom about 1/4" short of the bottom to allow the side to expand and contract.  If only wood would stop moving!  Life would be so much easier.  I hope to have this chest done tomorrow, hopefully.  I'll show you how I fixed a mistake on the drawer.


Back at Wintergreen!!  
On June 3rd. I'll be doing another Friday Art Walk at Winter Green Arts in downtown Presque Isle.  This time I'll bring mostly case pieces and few chairs.  Click the link for more info, but I'll probably give a short presentation at about 7:00 or so.  

Saturday, May 14, 2011

Knobs

 They say that it's the little things that make a difference, and in this case it's knobs.  Sometimes a store bought knob will work just fine but there are three problems.  One, sometimes you can't find the right type of wood.  Say you need curly maple or something, you're out of luck.  Secondly, sometimes          ( especially with cherry) you put them in and they never turn the same color, so you'll have four knobs that look great, two that look meh, and two that turn out terrible.  And lastly, sometimes the machining just isn't all that good, off sized tenon, chipped, etc... So I make my own.  This looks a lot better when lets say you have a dresser with graduated drawers.  What you want is to have the knobs in proportion with the drawers, but with store-bought, you're stuck.  But by making your own, you can tick up the size in relation to the drawer.  Above you can see an assortment of knobs from various Shaker pieces.  I chose the one on the right page, left hand column, second up from the bottom.


I laid out a diagram on some poster board so serve as a reference.  I use it the same way as my leg story sticks, marking directly off the pattern to eliminate measuring errors.


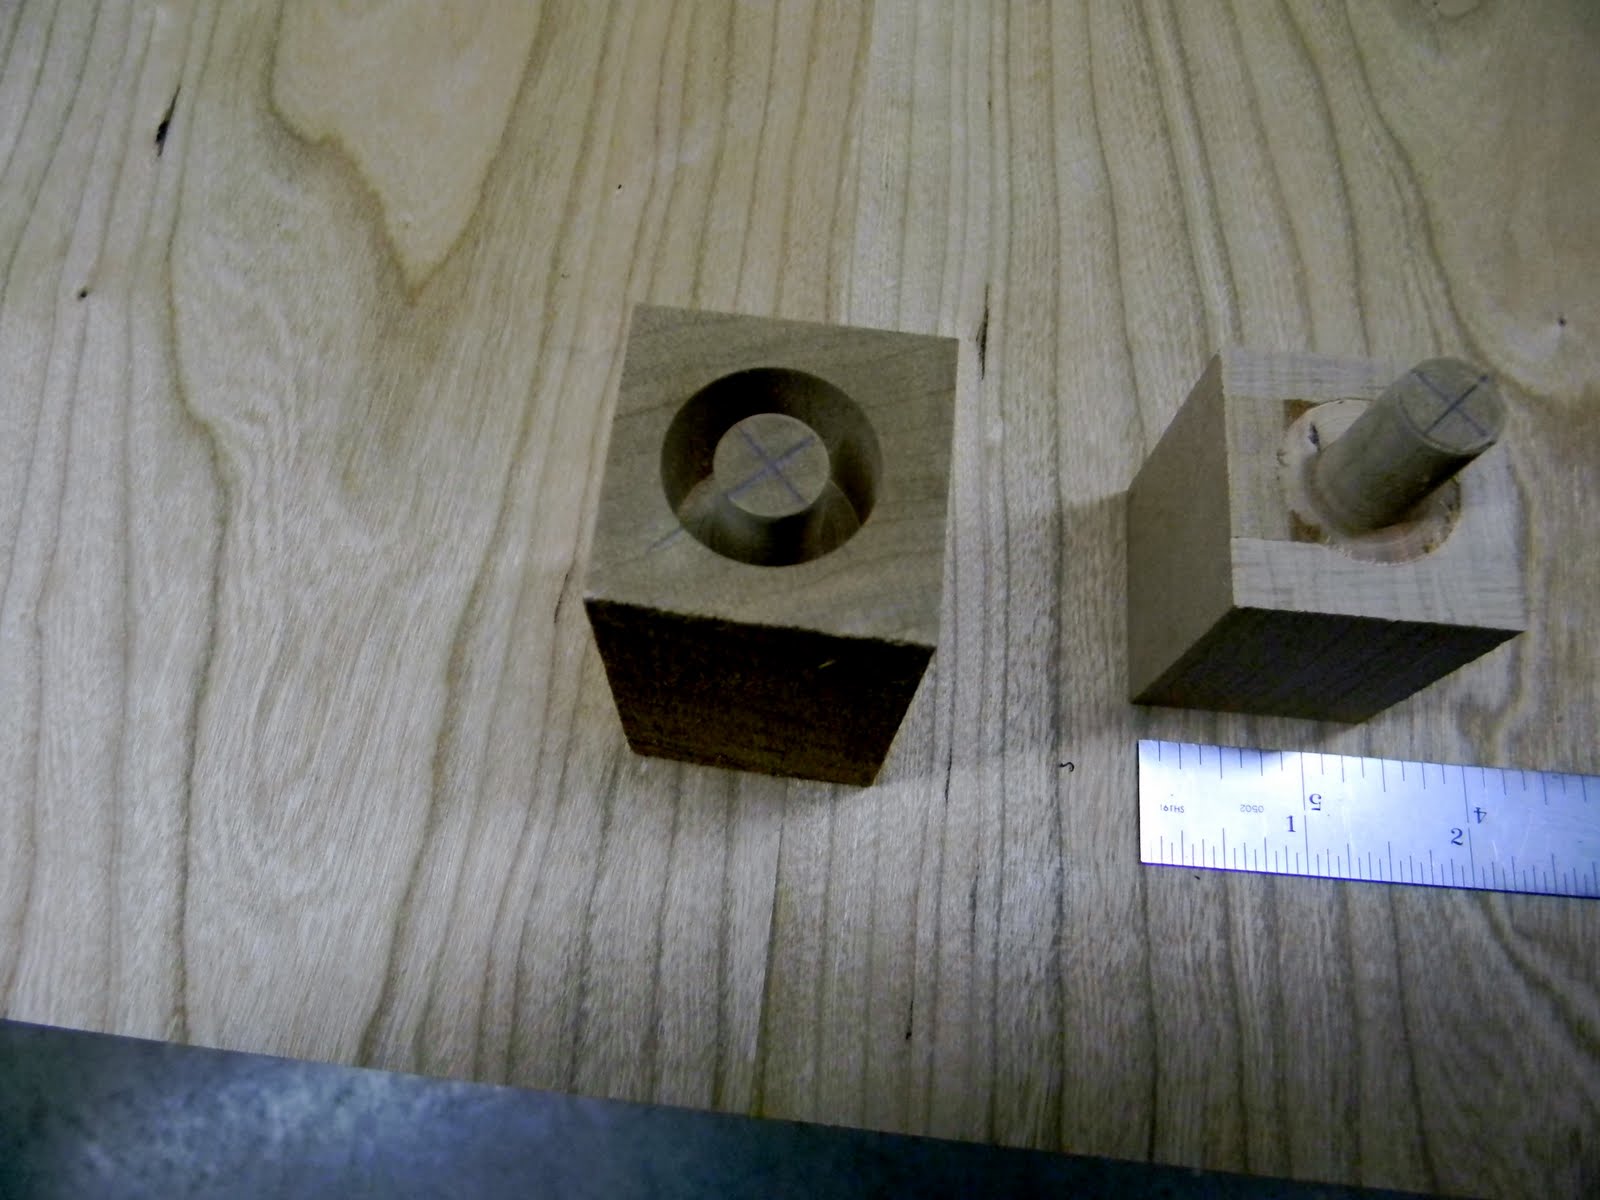
Here you can see the cherry blocks that will become the knobs, roughly 1 1/2" by 1 1/2" by 2 1/2" tall.  I marked out the center and cut the tenon with a tenon cutter, 1/2" thick by 7/8", which will allow the tenon to pass thru the drawer front and then be wedged from the back side.  By doing that the knob will never come out.  That's another problem with store bought, the tenons are short, and tapered, so they can't be wedged, and I'm not sure why they are tapered but it results in a poor glue up. 


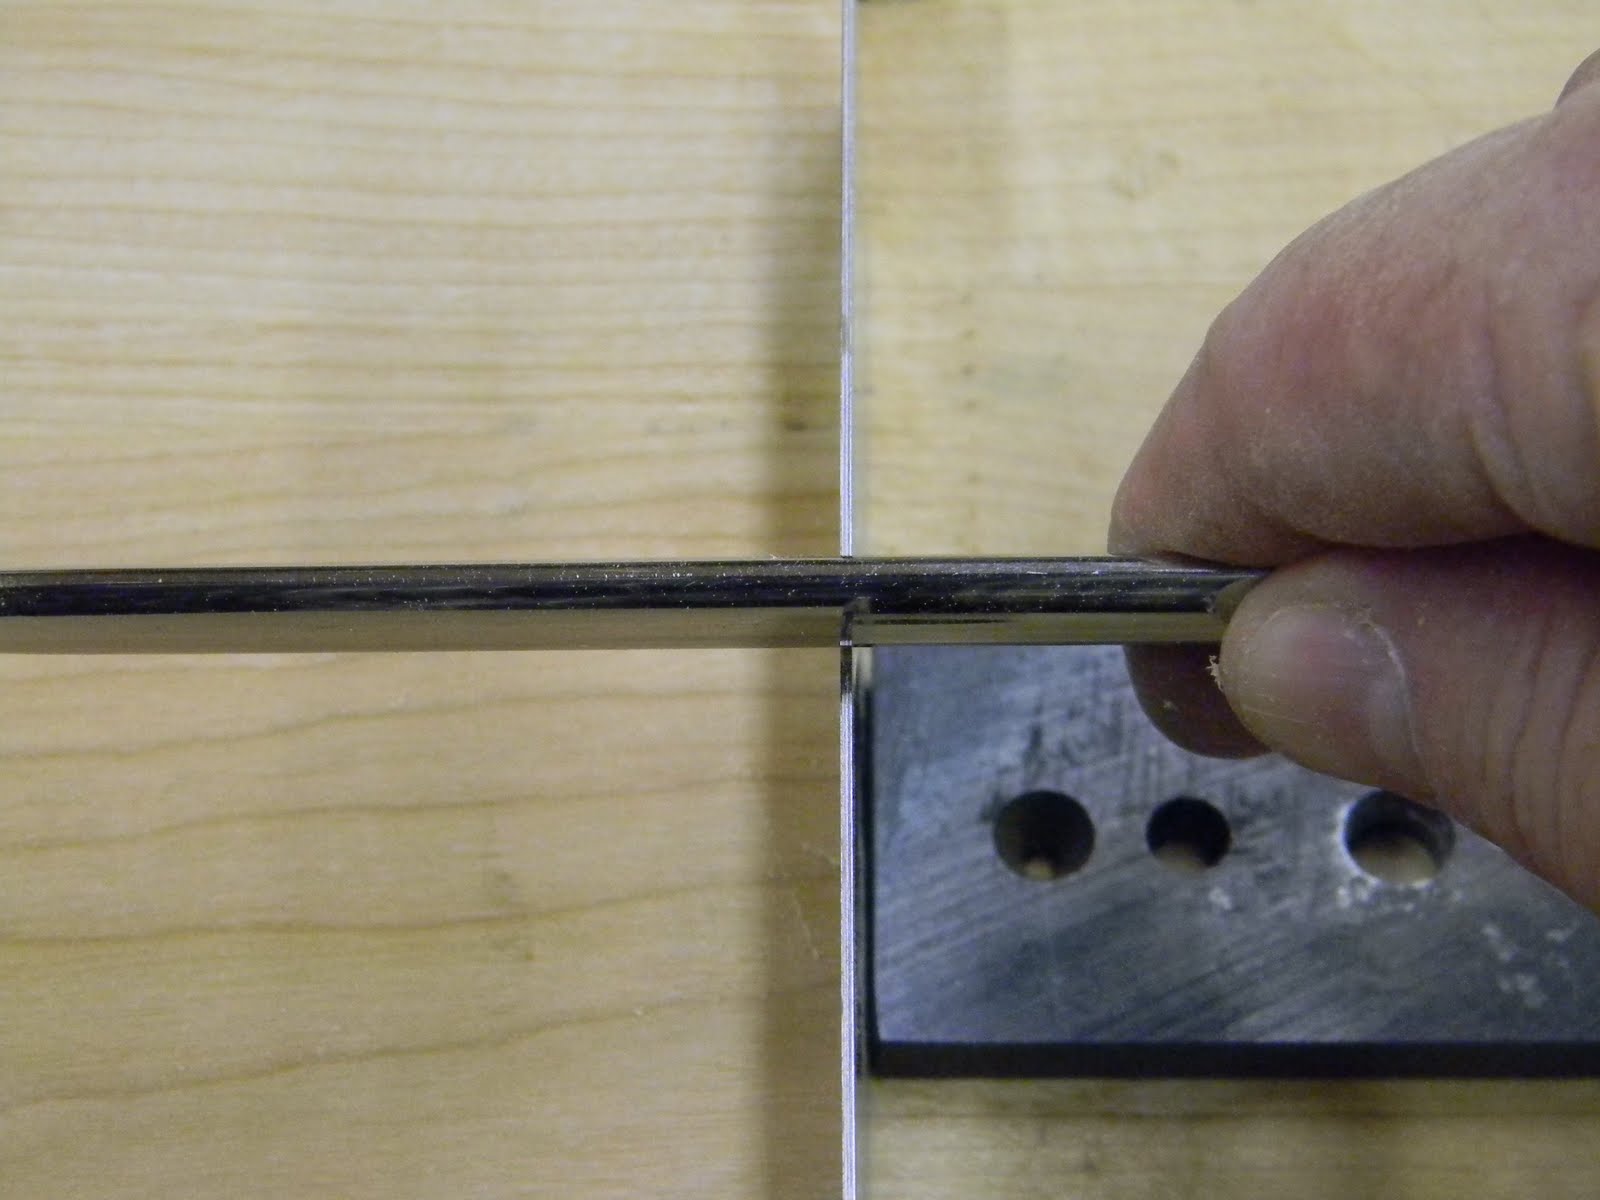
 I did the pics in the wrong order, but above you can see the drilled block and on the right I cut away the ring,  leaving the 1/2" by 7/8" long tenon.  Below is the process for drilling, just clamp and drill.  I had some doubts about the tenon cutter but it worked great.


 And here's the finished knob.  I put the tenon in the four-jaw chuck and parted the different depths, then turned it out.  It is basically a big asymmetrical cove with a rounded off face.  I cut the cove with a small detail gouge and turned off the face with the heel of a skew.  A little sandpaper and its done. 
Custom made means custom made, all the parts.

Note:  I had a friend call me and ask about the rainbow cuff on the four-jaw chuck.  You can get it at Lee Valley for around 6 bucks, worth every penny.  You'd spend more on band-aids if this thing bites you!!

Wednesday, May 4, 2011

Scraping By


  Time for a confession, for a long time, I never used a card scraper.  I found them too hard to sharpen, and all I ever got was dust and burned fingers.  But, after many years it has become a favorite.  I use it to clean up tear out, glue smears, and general smoothing.  I really like the little card scrapers made by Sandvic.  I've tried the Lie-Nielsen, and the one I have I find a little thin.  I tend to like a thicker scraper.  Here you can see how I put the scraper about 1 1/2 inches from the edge of the bench and hold the burnisher so it touches the edge of the scraper and the bench at the same time, and run it down a few times.  This sort of cleans up the edge, and draws out the edge.


 There are a bunch of articles and tons of advice to sharpen a scraper; I'll just cover a couple tips that work for me.  First off, the edge has to be polished and square--you should be able to fell an "edge" after squaring.  If it feels round or dull, then you won't be able to turn a hook. 


 I think the biggest mistake people make with a scraper is by using a stone to hone the edge, the card scraper cuts a trough in the stone, and after a time, you end up rounding over the edges, which is exactly what you don't want.  I use a couple pieces of MDF glued face to face, and I put a piece of wet dry sandpaper on a flat surface, and use the glued up pieces to hold the scraper at a right angle ( you can see the MDF block under my drawknife sharpening post) .  The sandpaper doesn't round over the edges.  So after the edge is square and polished ( I use 800 and then 1000 sand paper ), put a touch of oil on the edge, and lightly, and I stress lightly, run the burnisher over the edge at a right angle,


Then drop to about 3ยบ or so.  You don't need a big hook, nor do you want one.  I breaks too easily and you really have to lay the scraper over to engage the edge.  And here you can see the results, light fluffy shavings, not dust.  I have a scraper plane but honestly I like the card scraper.  I can work smaller areas and follow the little dips and problem areas without spending bunches of time flattening the whole piece.  I now use a card scraper all the time, including on my pine chair seats.

Oh, to prevent burned fingers, use a small fridge magnet right on the scraper.