Sunday, November 25, 2012


Even in Kyoto--
hearing the cuckoo's cry--
    I long for Kyoto.

Matsuo Basho


 Here above you can see another arm chair.  I really want to make a birdcage style ( with a double crest rail) but without an order it's tough to find the time.


This post is about fixing bending breaks.  It's really pretty easy, the hardest part may be deciding which pieces can be glued and which have really broken and have to be discarded.  Generally, it depends on the depth and direction that the break is running.  If it's pretty deep, and is running in, then toss it.  Also, if the break looks like it's peeling apart, layers coming off, it's probably ok to glue.  But if it looks like a strait fracture, then better to discard.


I like to fix the stress fractures when the piece is freshly steamed, and thus green.  Polyurethane (Gorilla) glue works great.  Just work it into the break ( I use a feeler gauge ) and then wrap tightly with masons line and tape off.  Once the piece dries, a card scraper cleans it off and you're all set.


I put the steamed pieces in my furnace room to dry.  I have a floor fan blowing around and within a couple days the pieces are all set.  I've been doing a bunch of steam bending lately, as you can see.  Seen here are a few hoop backs and a couple of C-arm bends.
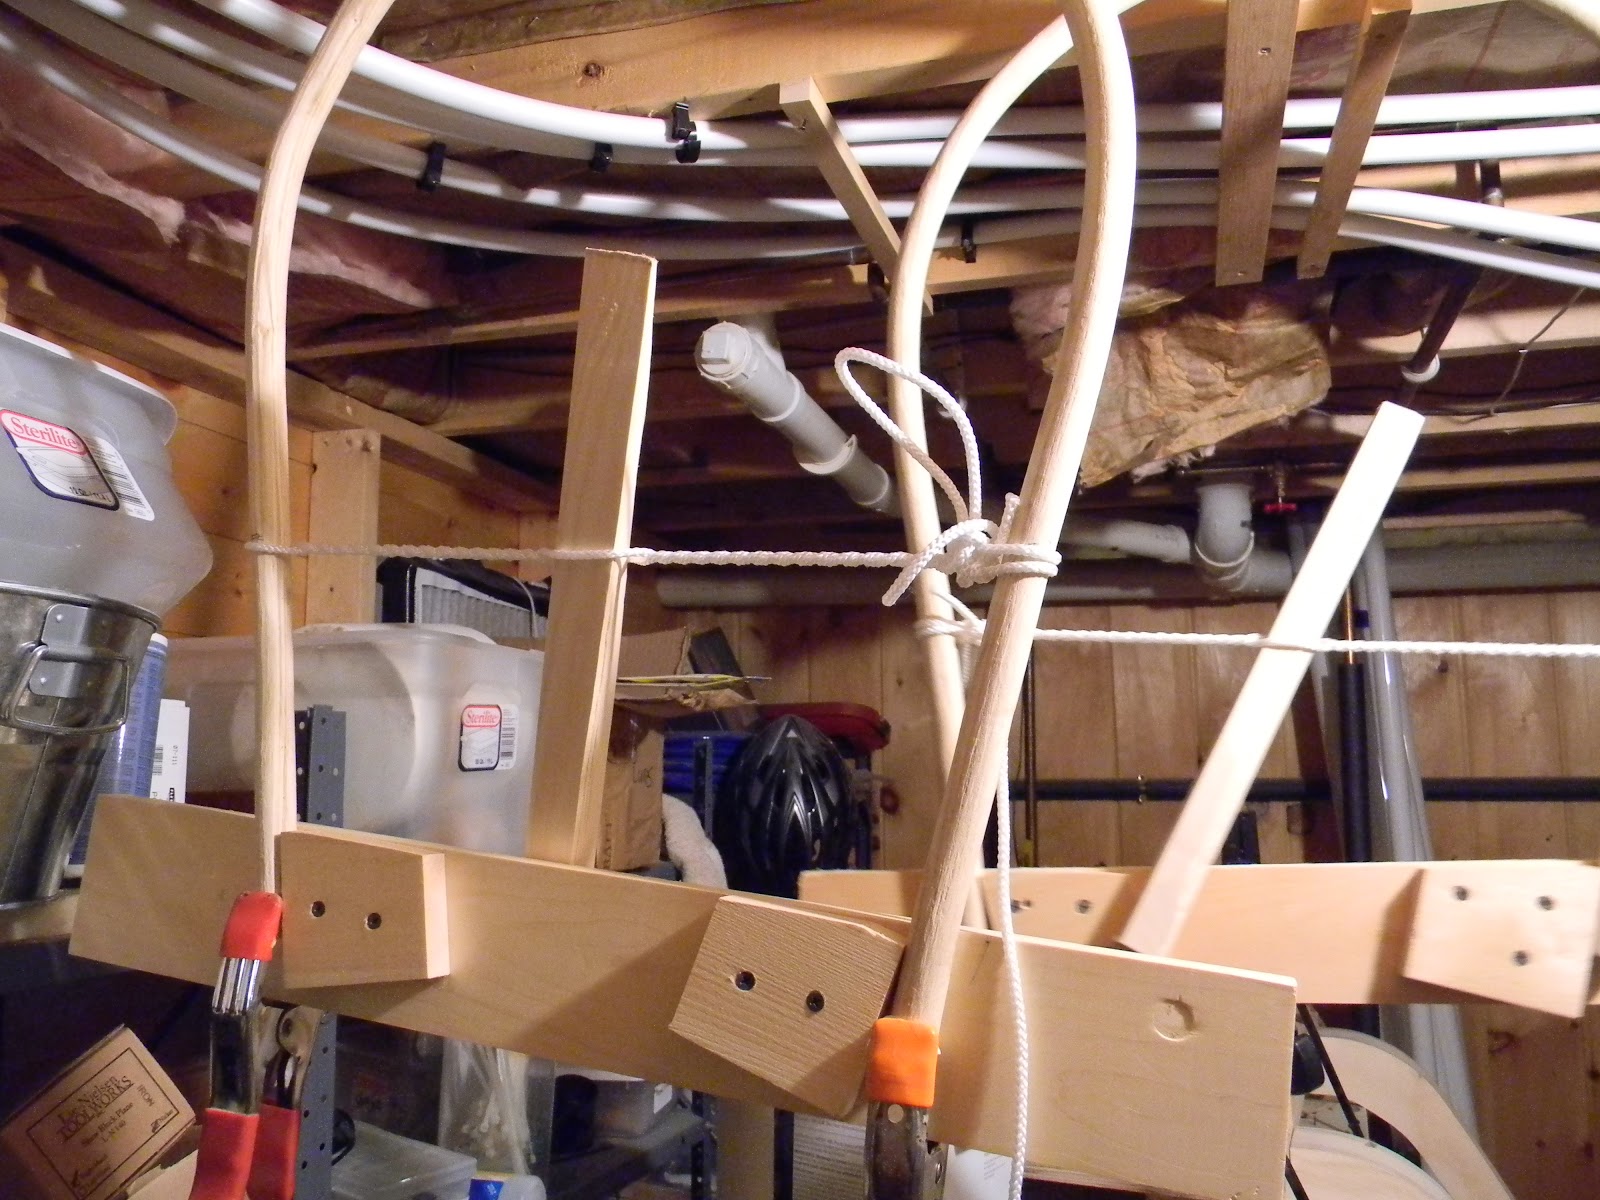

Here you can see the drying rack I like to use on hoop backs.  It's a board with a couple blocks screwed to it that hold the ends.  I then use a windlass to draw the hoop together, thus giving the hoop a slightly pinched look.  I think it looks better, though I wonder sometimes if I am the only one who sees it.  The board also keeps the ends in the same plane, which simplifies assembly.  I have also been steaming my ash longer than usual, which does seem to be helping, about an hour. 


Saturday, November 3, 2012

Continuous Arm, step by step..


"I feel like a wet seed wild in the hot blind earth.”
― William Faulkner, As I Lay Dying


 I'm gonna do something a little different, or at least try.  I'm gonna have the next few posts cover the sequential building of a continuous arm.  This pic shows where I am headed eventually.   This chair actually started it's life green, then I painted it green, and it's final incarnation as black on red which to my eye was the best color.  It's a pain to repaint milk paint chair as you have to strip it to wood, then glue size, then paint up. 

Anyway, here goes.  I may have some gap posts but gonna try to do this one after another. 


The first thing to do on any chair, at least the way I do it, is to do the steam bending first off.  This allows the piece to dry and set while doing other things.  Below you can see a nice piece of white ash that will become the arm.  These arm pieces have to be especially straight grained as it's a compound bend and I can't use a strap.


I split this into two pieces, the heart becomes firewood but the other piece can make two arms.


 This is what you have to look out for..this whorl ended before the sapwood, so it wasn't a problem, but had this been all the way to the bark, I could not have used this piece for bending. 


 Here are the three pieces I got ready for one arm.  I always make extras and have them handy, and because I have two forms,  I can steam two at a time and bend.  Always have an extra or two on hand as this is a tricky bend and if you break one, you aren't dead in the water. 

My next post will show the actual bending and the mixed results. 


 Here is a look at my brake, a close copy of Pete Galbert's, only I scabbed a couple pieces of 2x6  to raise the effective fulcrum, and below a scan of the changes.  I've had a couple emails asking for the dimensions, so here it is. 


Saturday, October 27, 2012

Dina-Sailboat


She was Papa’s one true love. 

Beyond the 11 novels, through three wives, the big-game safaris in Africa, the bullfights in Spain, and the drinking, carousing and his swaggering public image, Ernest Hemingway’s beloved Pilar was the one constant of his life.


At age 71, Pilar is still waiting. Beached on concrete blocks on a hillside overlooking Havana and the blue sea, Hemingway’s 38-foot fishing cruiser sits under a corrugated metal awning on display at the author’s former Cuban estate, Finca Vigio.


Quite a bit of Hemingway’s inner and outer life transpired on the boat he owned for 27 years. It is where he wrote, read, slept, chased giant marlin, tuna and German u-boats in the Gulf Stream off of Cuba. Here he entertained celebrities, authors, navy brass, seduced women and spent time with his three sons. On her decks he also hurled hostile curses at his critics, punched out once good friends and eventually realized his writing skills were fading away. He killed himself in July 1961.


“Hemingway’s Boat: Everything He Loved and Lost, 1934-1961” (Knopf),  Paul Hendrickson


Well here she is, finished at long last,  Dina, a 12' 6" boat for sail or row... May she have fair winds and following seas.


Tuesday, October 16, 2012

Fall Clean Up


He piled upon the whale's white hump the sum of all the general rage and hate felt by his whole race from Adam down; and then, as if his chest had been a mortar, he burst his hot heart's shell upon it.

Herman Melville, Moby Dick


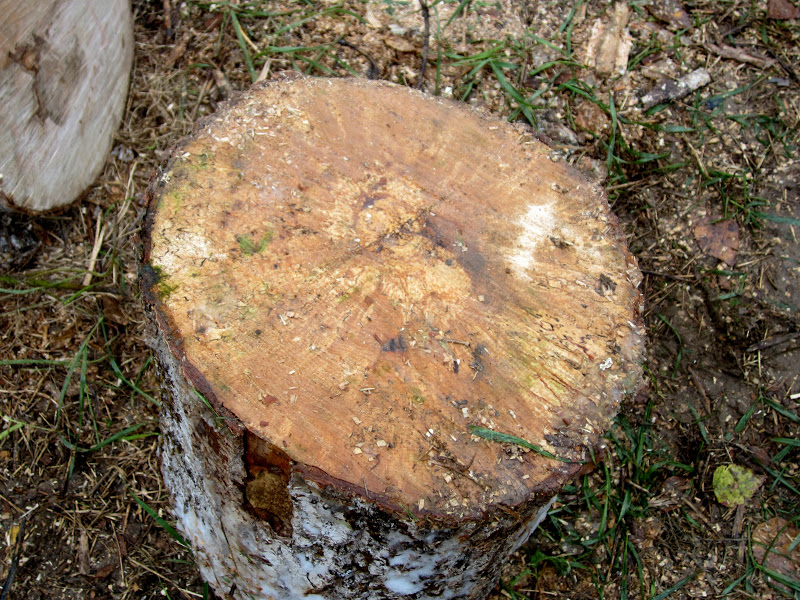
Every year, come fall, I end up with a few logs, ash and maple, that have been around for awhile and something has to be done.  So this last Sunday I decided to was the day.  Some of the logs are in pretty good shape, like this one below.  The cut looks fine, no visible rot at all.  One cool thing you can see to the left center is the head of an ingrown knot, a fist sized ball of bark that deforms a large portion of the log.


Below you can see obvious rot, usually the end of the logs.  It's fine for firewood, and splits pretty well, but is still hard work.  It really makes you realize how hard a life people lived 100 years ago, before wood splitters and chainsaws.


The white ash log below is beautiful...exactly what I am looking for... a centered heart on both ends, wide growth rings, no visible whorls or ingrown branches.  A perfect log.  One problem with ash is that it has a very low initial moisture content, so after sitting around for awhile it dries out and gets hard to work with a draw knife.  It used to fight thru but now I just turn it into firewood.


These are a few brown ash trees that I cut for a chair that never panned out.  The logs are fine, and I cut them off my land, so I'm gonna take a chance on these ones.


And here is the result.  The pieces on the tailgate are gonna be turned (literally) into legs and the rest is firewood.  Not a bad haul...now I have to go get a few more ash and maple logs to get thru the winter.  There is plenty of maple around, but the ash is a little harder to find. 


Stacked and ready for winter.


A beautiful Sugar Maple on my land, same tree I use for the legs.


Tuesday, October 9, 2012

New Chair and Fall Colors


“We are torn between nostalgia for the familiar and an urge for the foreign and strange. As often as not, we are homesick most for the places we have never known.”

--Carson McCullers


Here is my latest chair, a Comb Back with a built up rail and a shield seat rather than an oval seat.
I got the wood for the turning from a piece of maple destined for the firewood pile and it was a really sweet log.


Here you can see the built up arm.  The arm is 1 1/8" thick and 7/8" wide, which makes it a tough bend.   A strap (yes I use a strap) helps to give a little extra torque.  The arm portion is then cut away and scraped smooth.  Finally the little cove you see is chopped out.


Above you can see the seat and arms, and the carved knuckles, as well as the swelled spindles.


The carved ear and knuckle. 


Finally took some time to go for a hike with my daughter.  The leaves are just a little past peak, but there is still plenty of color.


We climbed Haystack Mountain located in Mapleton, about 5 miles from my house.  It's a short hike to some fantastic views.  The rangers have done a great job making the trail more accessible, putting in these cool stairs with rocks.


Almost to the top..


View looking south at Squapan Mountain with Squapan Lake to the right.


Below is the view south-west with Mt. Katahdin just left of center, the northern terminus on the Appalachian Trail.  Katahdin is tough, long climb so for now we'll stick to Haystack.  As I said, the leaves are a little past peak, but even so the views are incredible around this neck of the woods.