Sunday, March 3, 2013

Repairs


It's odd the things that people remember. Parents will arrange a birthday party, certain it will stick in your mind forever. You'll have a nice time, then two years later you'll be like, 'There was a pony there? Really? And a clown with one leg?'
David Sedaris


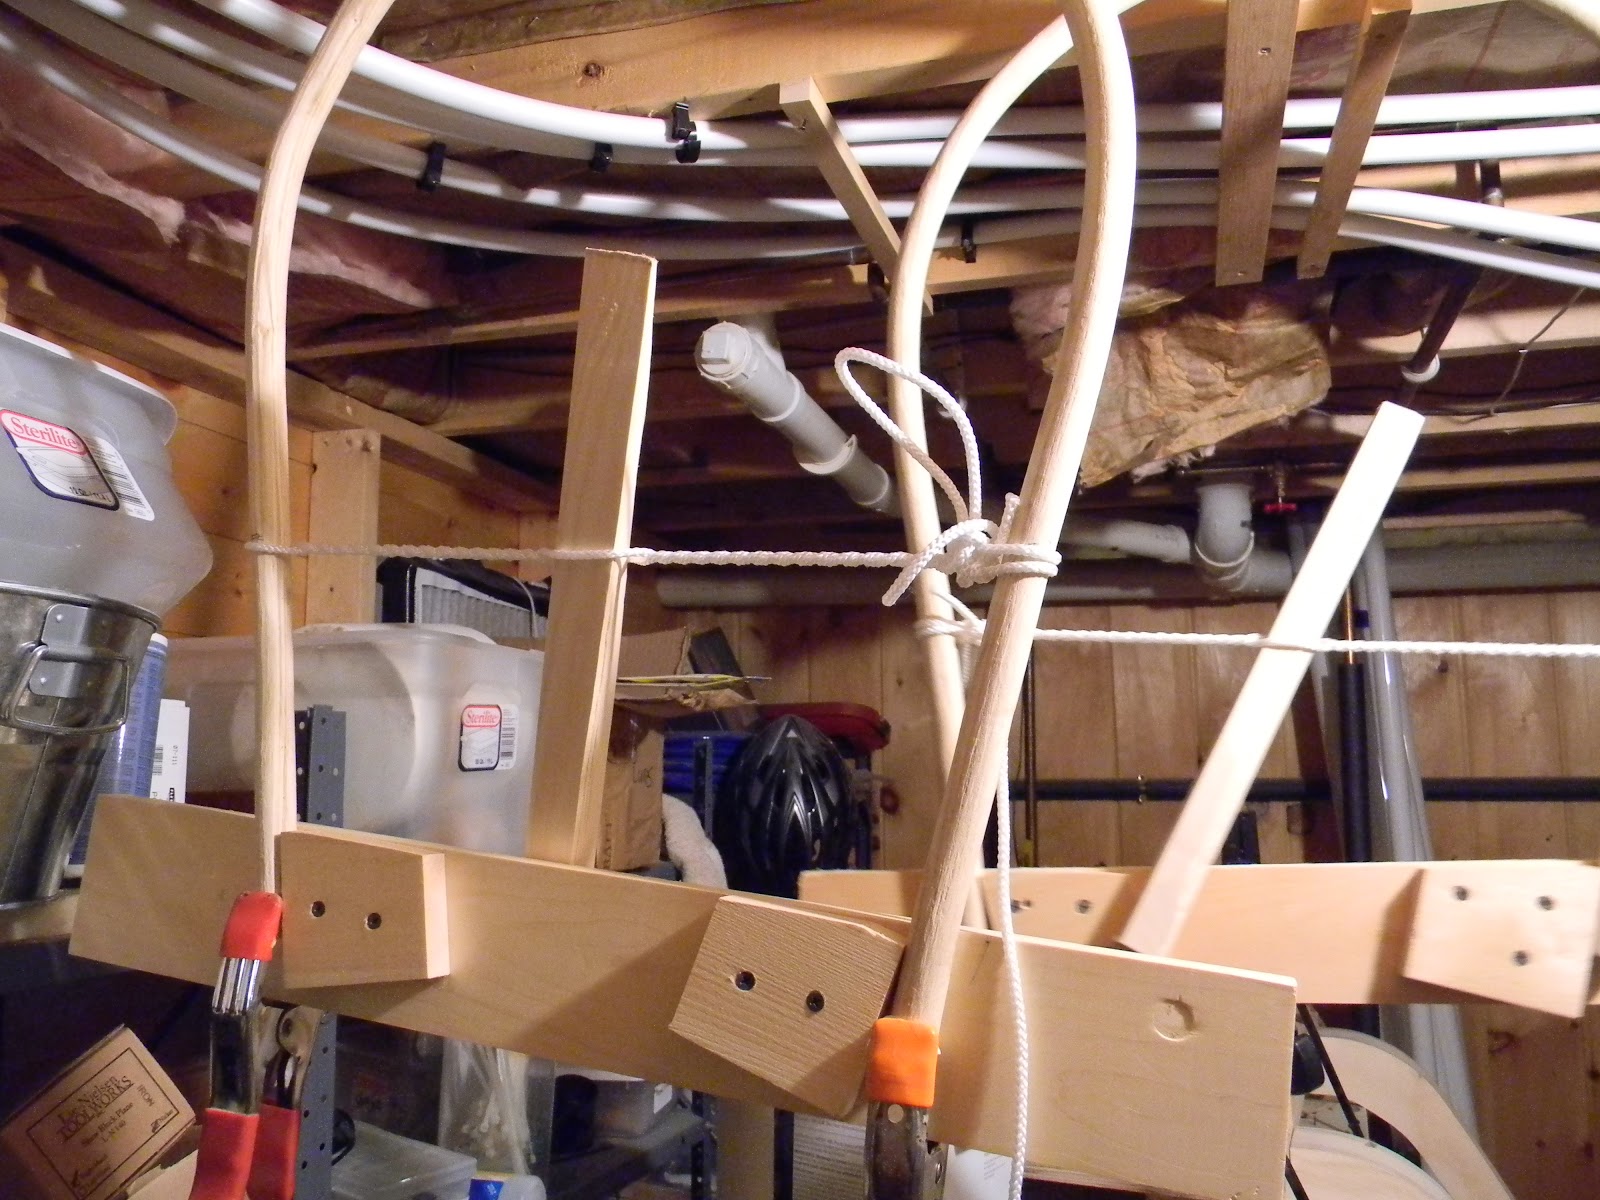
Every so often people want me to repair a chair for them.  More to the point, people want advice on how to fix chairs (how hard can it be, right?).   Sadly, most of the chairs that I see for repair are really not worth fixing, and or they are it's a quick epoxy and super glue deal. 

But then this showed up.  A local couple saw the article in the Bangor Daily News and contacted me about fixing an old Windsor they had for awhile, "quite awhile" they said.  So the Roger drove up and dropped of the chair and I was amazed.  This is a sweet chair.  It's a rocker, and really all the chair needs is the rockers fixed, and a couple pieces added to the elbow of the bow (see the flat slightly white part directly above the base of the arm). 


This chair, while factory made, is amazing.  It's a Fan Back, although at first blush it looks like an armed hoop back.  It has pipe stem spindles and a couple bracing spindles to boot. 


The arms are carved out of one solid piece of Mahogany and have carved knuckles.  I believe the seat was upholstered at one point, and the owner wants to, well, to be more precise, I talked him into finishing the seat with green leather.   Black milk paint, the arms will be natural mahogany, and with the green leather seat and brass tacks she will be beautiful.   The chair is really solid, and should be a pretty straight forward fix.  I'm definitely going to take some measures of this one and add it to my line. 


As to family life, last weekend at The Aroostook State Park they had Family Fun Day and I took my girls to the dog sledding and sliding.   We had such a great time and the turnout was amazing.


They even had the LL Bean Boot truck, and of course Smokey.


Sunday, February 17, 2013

Bangor Daily News article


They flee from me, that sometimes did me seek...

Sir Thomas Wyatt the Elder


 Kathryn Olmstead, a local writer and publisher of the wonderful magazine Echoes, is also a contributor to the Bangor Daily News.  As such,  she recently interviewed me and did a write up for the BDN about me and my craft.  It appeared in the past Friday issue, and here is the link right
here.


Friday, February 15, 2013

Bench


Be kind for everyone you meet is fighting a great battle

Philo of Alexandria


Well it has been awhile and while I won't go into detail about my absence, suffice it to say that one of my other jobs has been taking up a lot of my time and some other issues have been keeping me form posting.  But I am getting back into the shop and will be returning to posting my blog.

Bench, yeah.  Here are a few pics of a bench that I built for a show at the Messler Gallery in Rockport, Maine.  This show runs thru April 7 and assuming it does not sell there, it will then go to Harbor Square Gallery in Rockland where it will be on display. 


This bench is really based on my Comptempary Arm Chair, which owes its roots to Pete Galbert's Rocker.  I did re-design the back so the curve of the end post more closely matches the spindles.


Normally I turn the back rail but as my lathe is 42" and the back rail is 54" I had to shape it with a forkstaff plane...the same plane used to shape hay forks.  It was actually easier that I thought and while the turned pieces are very uniform, the plane shaped rail has irregularities that are pleasing to the touch.  

I also put a lot of time into the spacing and number of back spindles.  I originally thought twenty one would be about right, but visually it was too busy.  I trimmed down to 15, which I thought was about right. 


Getting the sweep of the rail visually "right" is maybe the hardest part.  Too little and it looks lifeless, too much and it can look comedic.  So again, like with all chairs, you have to trust your eye.  Getting this line right is much like getting the sweep of a boats sheer right.  It is very hard to subjectively say what is right or wrong, but when it is right, you know it. 

One thing I didn't consider was as the rail, with it's steam bent curve, is rotated down to add sweep, this in turn pushes middle towards the front of the bench, which nets out a more erect back.  This bench is fine and very comfortable, but my next rail will have a greater bend.

I did come up with a great way to drill the rail using the spindle itself as a guide by using a rubber band.  I make about one important discovery about every year or so and this one does work.  I'll post about it soon.

Sunday, November 25, 2012


Even in Kyoto--
hearing the cuckoo's cry--
    I long for Kyoto.

Matsuo Basho


 Here above you can see another arm chair.  I really want to make a birdcage style ( with a double crest rail) but without an order it's tough to find the time.


This post is about fixing bending breaks.  It's really pretty easy, the hardest part may be deciding which pieces can be glued and which have really broken and have to be discarded.  Generally, it depends on the depth and direction that the break is running.  If it's pretty deep, and is running in, then toss it.  Also, if the break looks like it's peeling apart, layers coming off, it's probably ok to glue.  But if it looks like a strait fracture, then better to discard.


I like to fix the stress fractures when the piece is freshly steamed, and thus green.  Polyurethane (Gorilla) glue works great.  Just work it into the break ( I use a feeler gauge ) and then wrap tightly with masons line and tape off.  Once the piece dries, a card scraper cleans it off and you're all set.


I put the steamed pieces in my furnace room to dry.  I have a floor fan blowing around and within a couple days the pieces are all set.  I've been doing a bunch of steam bending lately, as you can see.  Seen here are a few hoop backs and a couple of C-arm bends.


Here you can see the drying rack I like to use on hoop backs.  It's a board with a couple blocks screwed to it that hold the ends.  I then use a windlass to draw the hoop together, thus giving the hoop a slightly pinched look.  I think it looks better, though I wonder sometimes if I am the only one who sees it.  The board also keeps the ends in the same plane, which simplifies assembly.  I have also been steaming my ash longer than usual, which does seem to be helping, about an hour. 


Saturday, November 3, 2012

Continuous Arm, step by step..


"I feel like a wet seed wild in the hot blind earth.”
William Faulkner, As I Lay Dying


 I'm gonna do something a little different, or at least try.  I'm gonna have the next few posts cover the sequential building of a continuous arm.  This pic shows where I am headed eventually.   This chair actually started it's life green, then I painted it green, and it's final incarnation as black on red which to my eye was the best color.  It's a pain to repaint milk paint chair as you have to strip it to wood, then glue size, then paint up. 

Anyway, here goes.  I may have some gap posts but gonna try to do this one after another. 


The first thing to do on any chair, at least the way I do it, is to do the steam bending first off.  This allows the piece to dry and set while doing other things.  Below you can see a nice piece of white ash that will become the arm.  These arm pieces have to be especially straight grained as it's a compound bend and I can't use a strap.


I split this into two pieces, the heart becomes firewood but the other piece can make two arms.


 This is what you have to look out for..this whorl ended before the sapwood, so it wasn't a problem, but had this been all the way to the bark, I could not have used this piece for bending. 


 Here are the three pieces I got ready for one arm.  I always make extras and have them handy, and because I have two forms,  I can steam two at a time and bend.  Always have an extra or two on hand as this is a tricky bend and if you break one, you aren't dead in the water. 

My next post will show the actual bending and the mixed results. 


 Here is a look at my brake, a close copy of Pete Galbert's, only I scabbed a couple pieces of 2x6  to raise the effective fulcrum, and below a scan of the changes.  I've had a couple emails asking for the dimensions, so here it is.